2019 Round Robin
Round Robin—ANYTHING GOES!
This coming year, 2019, we will have a Round Robin, that you will choose your own type of exchange!
Choice 1, Traditional Robin: You can do a block (no larger than 16 ½”) to exchange with group. The members will add a border (4 sides) each time the box is exchanged.
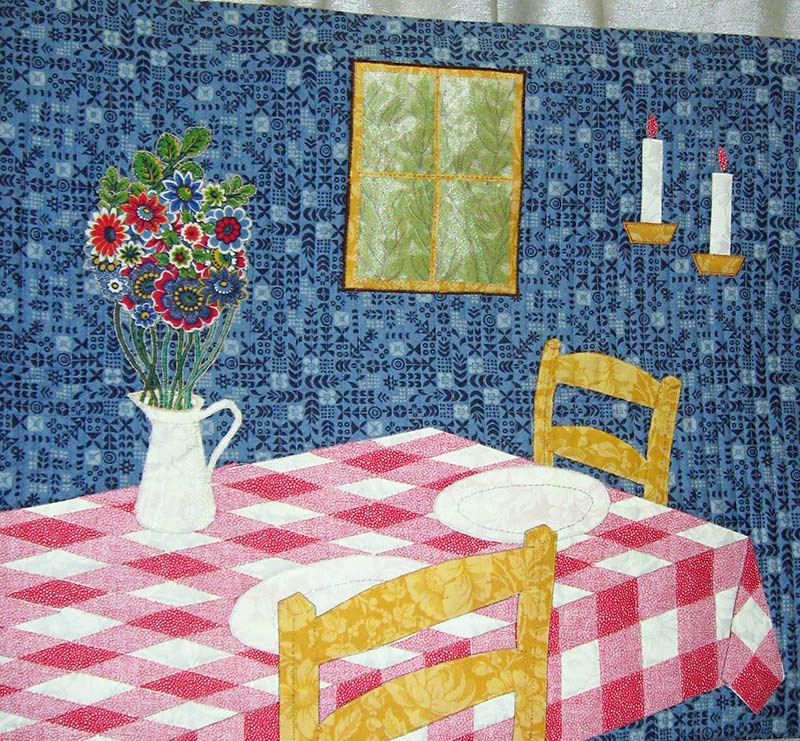
Choice 2, Row Robin: You will make a row ( 60” maximum width) The members will add a row each ex-change.
Choice 3, Two Quilt blocks (16 ½” is the maximum size): The mem-bers will make two blocks according to your specific directions.
Choice 4, Half Row Robin: You will make a block (16 ½ “ is maximum side). The members will add only borders. on 2 sides, these sides must touch.
Each Participant must include a JOURNAL This Journal must give rules and instructions to give guid-ance for the participants for each exchange. This is where you will state what you want!
Here are a few questions that you might want to include in your journal:
- Do I want a specific technique for each round? (Triangles, squares, 3-d piecing, appliqué, or quilters choice) if so what are they?
- Do I want the members to use only the fabric given or can they add their own fabric?
- Do I want embellishments? (buttons, ribbons, etc.)
Each Participant must have a box with handle. This box should contain:
- Journal
- Your starter block or row
- 1-2” yards of the background fabric, and a variety of fabrics to be incorporated in your quilt. You will decide if you want to allow only your fabric or allow the participants to add their fabrics.
Measure, Measure, Measure and use a good ¼” seam and use your best sewing skills. Work on another person’s quilt, as you want her to work on your quilt!
If you find yourself at a loss for ideas, search on Pinterest for Row Quilt Ideas, or call a quilting friend for some inspiration! You can always give me or Terry a call if needed.
This should be a fun activity! Let your creativity sparkle!
Points of contact:
Jean Berk
Terry Ruby

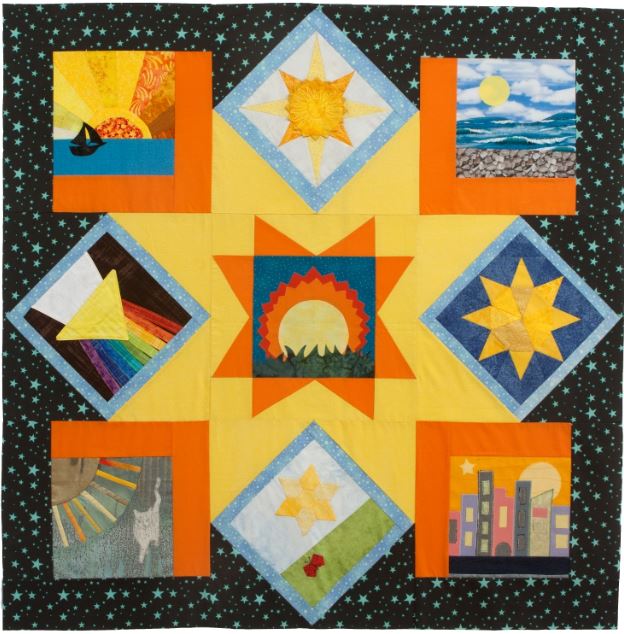
Photo Credit:
Seasons quilt submitted by Bess Scheid. While the quilt is owned is by another quilter, Bess made the Christmas row, Jeanne Kehl made the daffodils row and Johanna Roll made one of the rows in this Row Robin.

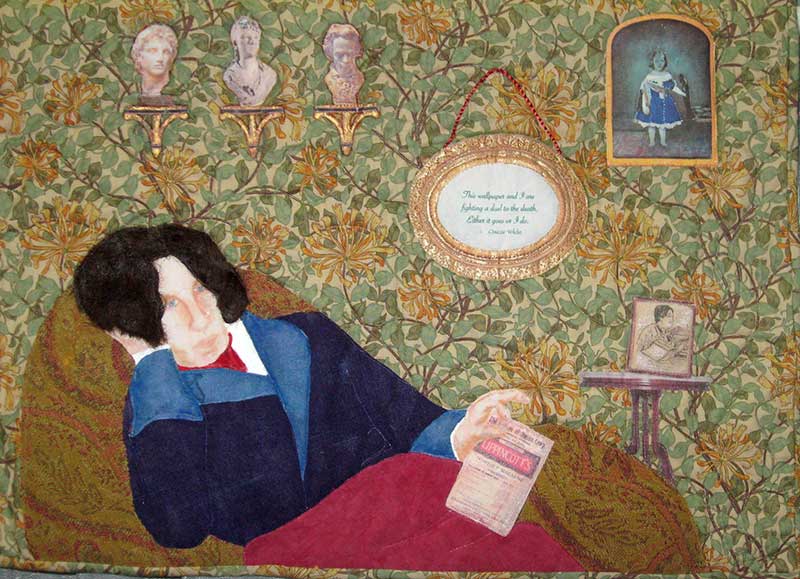
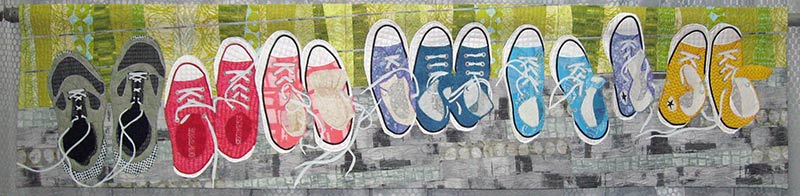
Photo Credit:
This Row Robin quilt photo is submitted and owned by Johanna Roll. The rows in this Row Robin were made by members of Quilting On the Line Guild.